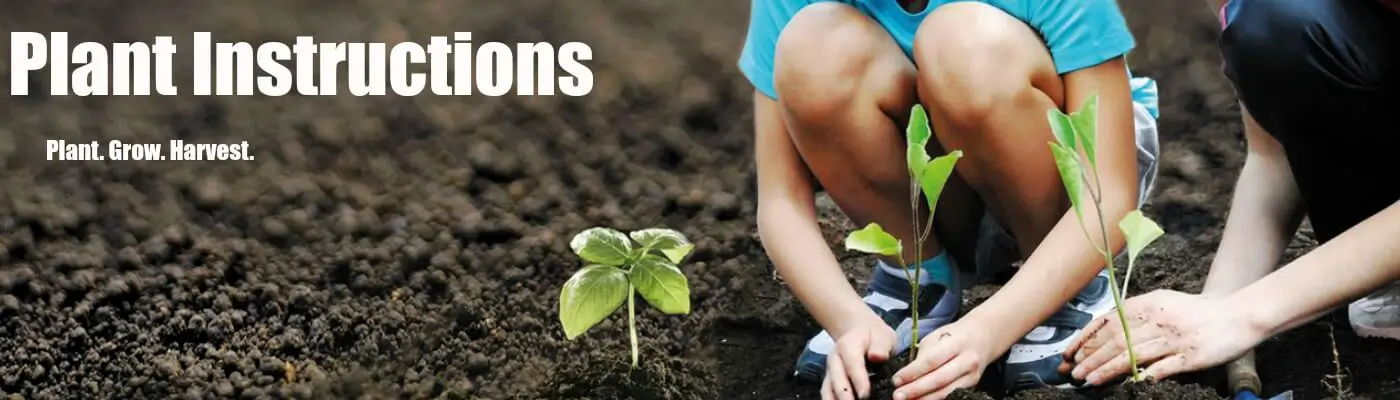
If you’re a salad lover looking to add some extra flavor and nutrition to your greens, then you’ll want to get to know microgreens. Microgreens are tiny greens that pack a serious nutritional punch. In fact, they can contain up to 40 times more vitamins and minerals than their mature counterparts! Not only are they nutritious, but they’re also incredibly versatile and easy to grow. Read on to learn more about microgreens and also how to grow microgreens without soil!
What are Microgreens?
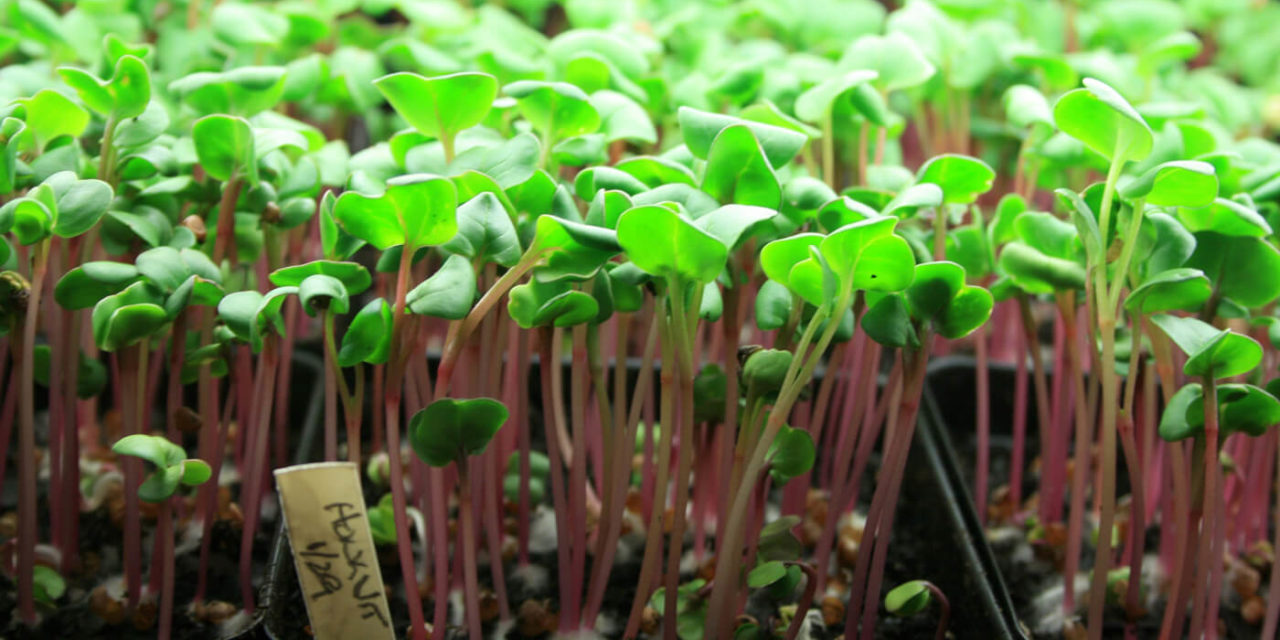
Microgreens are the immature greens of edible plants. They are typically harvested when the plant is 7-14 days old. The most popular microgreens include arugula, cabbage, cilantro, kale, and radish, but there are hundreds of different varieties to choose from. Not only are microgreens nutritious, but they also have a milder flavor than their mature counterparts. This makes them the perfect addition to salads, sandwiches, or any dish that could use a little extra flavor.
How to Grow Microgreens Without Soil
One of the great things about microgreens is that they can be grown without soil, which means they are a great option for those who do not have access to traditional garden space. Here is a step-by-step guide to growing microgreens without soil:
- Start with a clean, sterile container. You can use a recycled plastic container or tray, or you can purchase a new one specifically for growing microgreens.
- Fill your container with an inch or two of moistened perlite. Perlite is a type of volcanic glass that helps improve drainage and aeration in the rooting medium. It can be found at most garden centers or online.
- Sow your seeds evenly over the surface of the perlite. Make sure to read the seed packet for specific planting instructions, as some seeds need to be buried while others need light to germinate.
- Cover the seed tray with a clear lid or plastic wrap to create a mini greenhouse effect. This will help keep the seeds moist and encourage germination.
- Place the tray in a bright location, but out of direct sunlight. A south-facing windowsill is ideal. Check on the seeds daily, and mist them with water if they start to dry out.
- Once the seeds have germinated and grown their first true leaves (not just seed leaves), it's time to start fertilizing them. Use a low-strength fertilizer solution every other watering until the plants are ready to harvest (typically around 2-3 weeks).
- To harvest, simply snip the greens at soil level with sharp scissors. Enjoy immediately!
Are Microgreens Susceptible to Any Pests or Diseases?
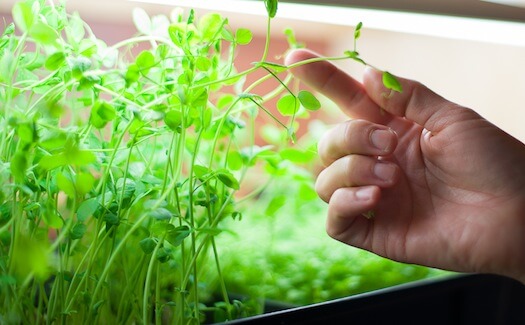
Microgreens are susceptible to pests and diseases just like any other plant. However, because they are so small, it can be difficult to spot problems early on. Watch out for common pests such as aphids, whiteflies, and spider mites. These pests can cause damage to your plants and reduce yields.
Keep an eye out for signs of disease as well. Common diseases that affect microgreens include damping off, powdery mildew, and botrytis (gray mold). These diseases can spread quickly, so it's important to address them as soon as you see any symptoms.
Prevention is the best way to deal with pests and diseases. Start with clean seeds and sterile growing conditions. Use only sterile soil or soilless mix, and don't allow water to collect on the leaves of your plants. Keep your growing area clean and free of debris, and practice good crop rotation to prevent problems from recurring year after year.


